3 Flat Iron Finishes for Dramatic Outfits
Three ways to coordinate hair direction with the long, deliberate lines of a Dramatic outfit.
A sharply tailored Dramatic outfit already has a clear direction. Hair can support that impression when its outline, ends, and face framing pieces feel just as deliberate, rather than reading like a separate soft layer over strong shoulders or a long lapel.
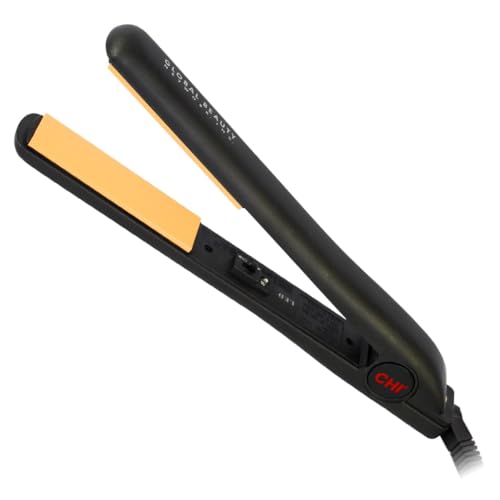
These three flat iron finishes for Dramatic outfits begin with the clothes, not a rigid hair rule. The aim is to choose one visible direction that connects hair to the outfit. The featured CHI Original has one inch ceramic floating plates, and the brand describes the tool as able to straighten, flip, curl, and style. Those options make it a useful example for comparing finishes, not a promise about how it will work for every person.
Read the Outfit Before Styling the Hair
Find the strongest line in the outfit first. A long coat, an uninterrupted column of color, or a sharply cut neckline may already create the vertical emphasis associated with Dramatic style. Decide whether the hair should continue that line, punctuate it once, or clear space around it.
Keep the decision visible and simple. If the clothes have several crisp elements, the hairstyle does not need several competing ideas. Pick one dominant direction and let the rest of the hair support it.
Finish 1: Keep the Length Direct
A straight, elongated outline can echo a long trouser line, narrow dress, or extended lapel. The important choice is not maximum smoothness. It is whether the hair reads as one continuous shape from crown to ends.
Keep the ends facing mostly downward instead of turning every section in a different direction. With a strong center or deep side part, that direct finish can create a clean frame for angular earrings, a high neckline, or a bold shoulder.
Finish 2: Add One Deliberate Bend
A Dramatic outfit does not require perfectly straight hair. One controlled bend can repeat a curved collar, a sculptural cuff, or the sweep of an asymmetrical neckline while preserving an otherwise long outline.
Place that bend deliberately. A turn below the cheekbone keeps the upper silhouette edited; a small end flip can act like punctuation beneath an unbroken length. Avoid scattering bends at many heights when the outfit depends on one clear vertical route.
Finish 3: Open the Face for Strong Detail
Off face placement can give a high collar, long earrings, or a sharply defined lapel enough room to register. Direct the front sections back or to one side, then judge the hairstyle with the whole outfit in view.
This is a placement decision rather than a demand for volume. The goal is a clean relationship between face, hair, and garment: one open area, one strong outline, and a focal detail that is easy to read.
Choose the Finish, Then Choose the Tool
The same one inch format can represent different styling intentions, but the outfit should decide which intention matters. Choose direct length for an uninterrupted vertical, one bend for a controlled counterpoint, or off face placement when neckline and jewelry need visual space.
You can use the same mirror test without buying anything new. Step back until the full silhouette is visible. If the eye follows one clear route through hair and clothing, the finish is doing its job; if it stops at several unrelated turns, simplify one decision rather than adding another.